Tuesday 24 January 2017

Re-ARM of a Mini Kossel

Panucatt Devices Re-ARM board Bottom View
     Last month, I covered some of the key upgrades on my mini Kossel, and most of them were things that improve the extrusion path. This time, I'm switching the controller board from an 8-bit Arduino Mega 2560 to a new 32-bit Smoothieware-based board called the Re-ARM for Ramps

New and Old: Re-ARM/Ramps (top right), Arduino Mega2560 (bottom left)
     Physically installing the Re-ARM was fairly simple, I just needed to remove the print bed and lift the Ramps assembly out from underneath. After that, a few minutes work with some pliers to gently separate the Mega and Ramps boards, then mount on the Re-ARM's headers with some gentle pressure until things are snug. Don't forget to set the Re-ARM's power mode before installing the Ramps, it's impossible to change the jumper with it in-place.
Re-ARM/Ramps with mounting bracket (on the left)
     After assembling the boards, I found that my Mega2560 mount was incompatible with the Re-ARM's footprint - mostly just a tolerances issue, the mounting bracket I was using is a bit sloppy, so I loaded the Re-ARM's digital reference into Fusion 360 and drew up the bracket above. It's designed to raise the Re-ARM to just the right height to allow the optional Ethernet adaptor to pass between the 2020 t-slot extrusions on the Kossel's base, and bolts down with a couple of #6 or M4 wood screws. The STL for it is here


Re-ARM/Ramps mostly installed
    Once the main boards where installed, it was time to add the graphics display. With the Arduino Mega, I'd used a Smart Controller display panel, but it wasn't compatible with the Re-ARM so I swapped it out for a Full Graphics Controller instead. The only real gotcha with using this display on the Re-ARM is that you need to splice part of the EXT2 cable to tap into one of the 5V rail pins since the main logic rails are operating at 3.3V.


Spliced line on EXT2 cable, it's the edge opposite the red reference line
5V pin for EXT2 splice


     And with that plugged in, I used the Micro Kossel to print some mounting brackets from Thingiverse for the display and then used some M3x20mm screws to install them.


Full Graphic Controller with Mounting brackets waiting for installation
Using zip-ties for cable management, helps keep things nice and tidy
Bracket fully installed using M4x0.8mm cap screw and M4 hex nut


     With that installed, all that's left is to remount the print-bed and deal with the software side of things. I'd originally used 3 M3x20 screws to hold the print-bed down, but these made it very vulnerable to warping and difficult to level after a reinstall, essentially requiring recalibration every time I needed to access the electronics. After running across thing: 1982435, I decided to make my own version with an extra slot for my heat shielding. Files are here.

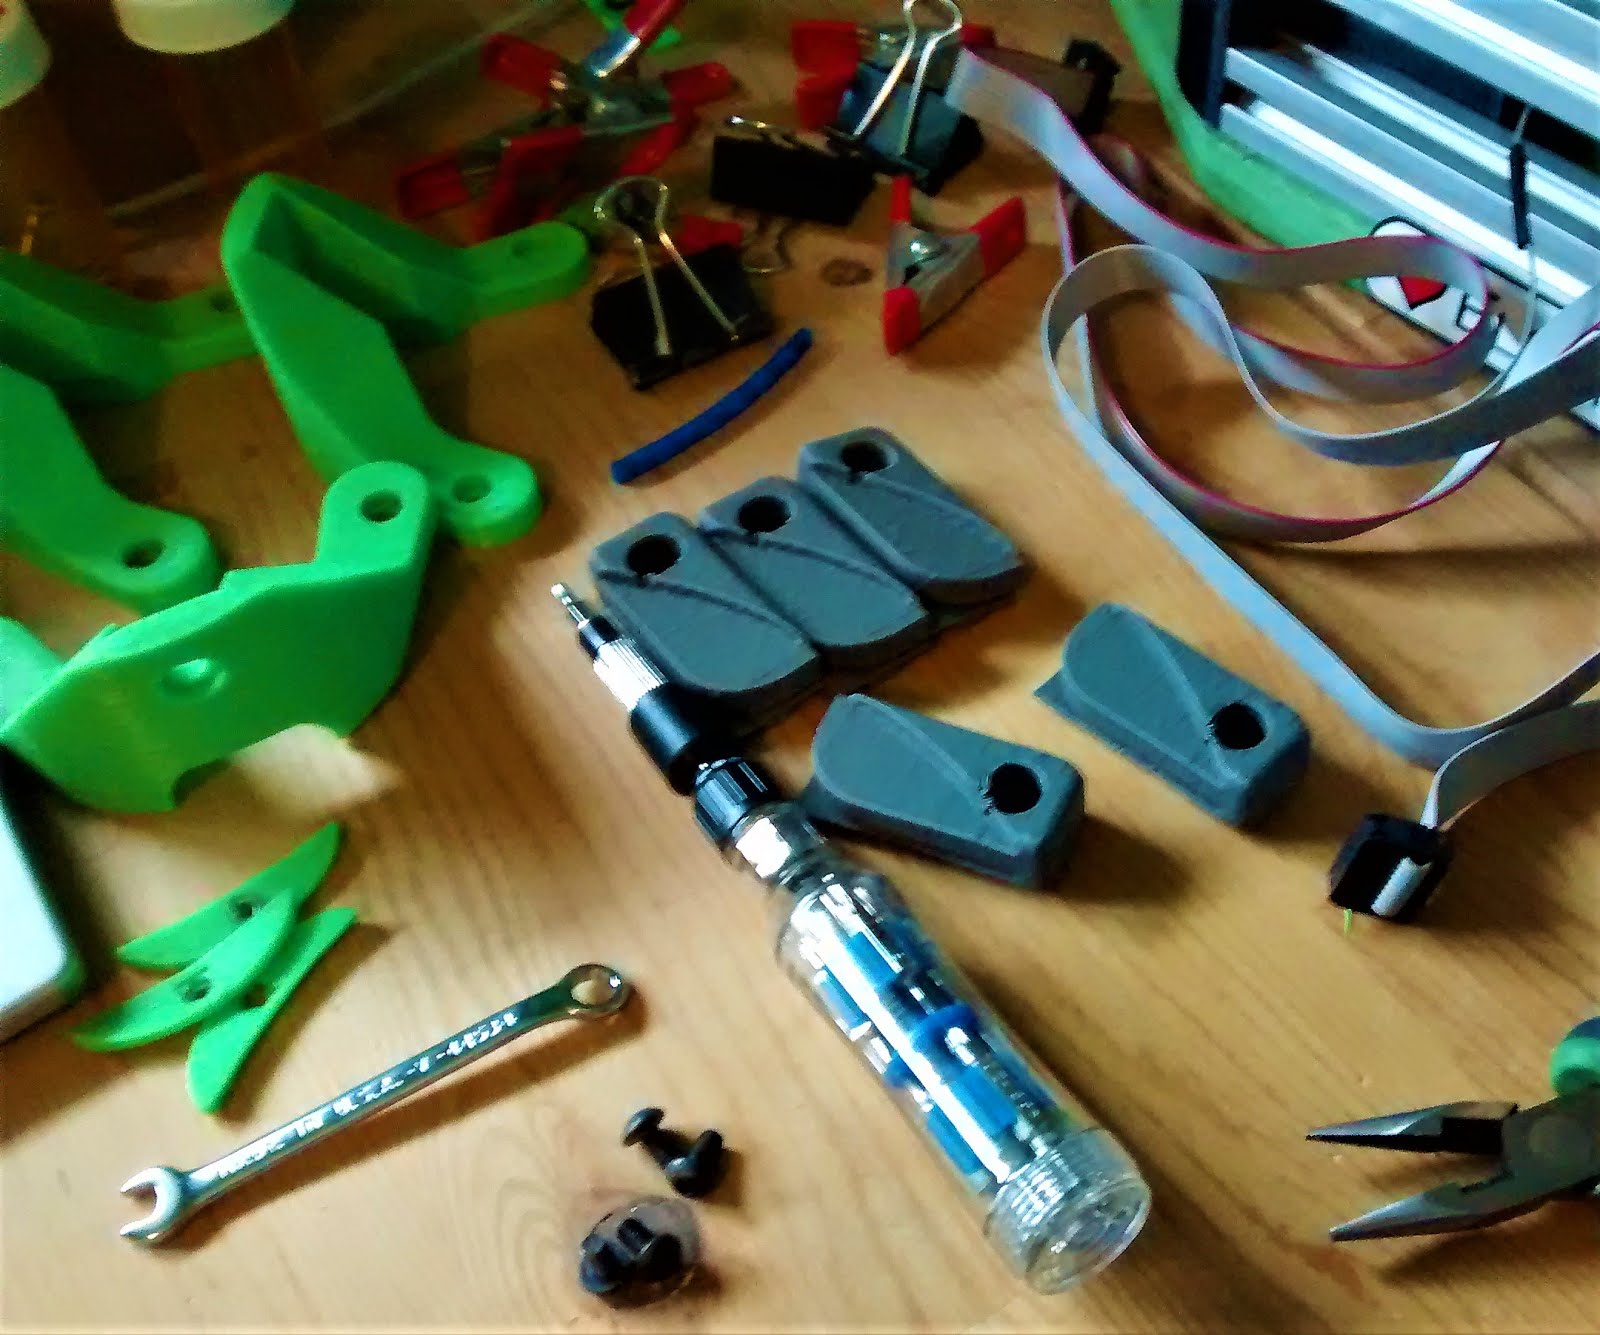
Print-bed mounting blocks waiting for install
Test fitting heat shield
Finalizing exact positioning, note the M3x20mm screw and bolt for holding glass
     After sorting the heat shield, I still had a minor issue with the bed trying to float on top of the mounts, so I drafted up some extra wide M4 washers to hold things in place with some spare M4x20mm bolts I had left over from another project. You can see the floating issue in the next picture's lower left corner.


M4x20 bolts and custom washers waiting for final installation
Glass holder clip with M3 thumb wheel for holding the 195mm glass down
     As for holding the Buildtak/glass plate combo I use for an actual print surface onto the print-bed, my glass is an odd 195mm diameter, not the more standard 200mm or 220mm that you normally see, so the glass clips are customized for it. With that installed, it was largely just a matter of learning how to configure Smoothieware with the Mini Kossel's parameters, the official documentation, combined with the Re-ARM's setup guide were fantastic on this, then the usual calibration and it's done.


Retrofit complete, ready to print

No comments: