Tuesday 26 July 2016

Upcoming Events, Projects, and Products

3D Maker MeetUps


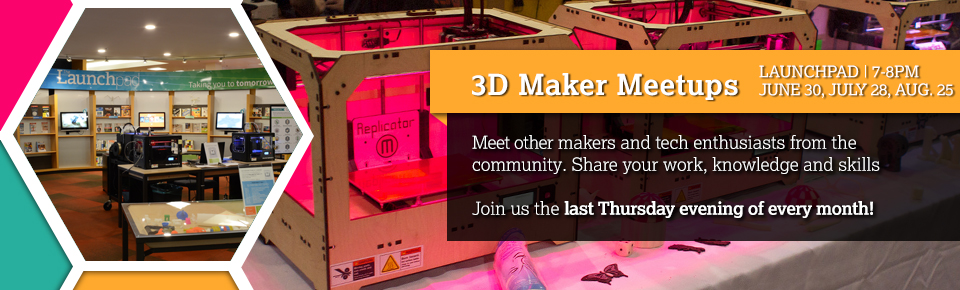
So it's time for another meetup at Richmond Public Library, as usual you can catch me there, I'll be bringing the Micro Kossel with me along with part of a new project I've been building for the past month.

In other news, I'll be releasing a couple of new products on shapeways soon, teaser is it's something I've shown at the 'Meet you Makers' event.

Tuesday 5 July 2016

Micro Kossel Upgrade, Part 3

And now for the 3rd and final update on this project. After my last post, the version 3 effector warped during a 15 minute test print, so it was back to the drawing board for revisions. This time the solution was fairly simple, I just raised the bottom of the effector to be parallel with the bottom of the heat-sink and added some mounting holes for the heat-sink fan to the clamp section since the E3D duct won't fit on this version.

Micro Kossel with V4 effector installed.
Raised Effector V4 printed parts

Assembly and installation is mostly the same as for the V3 design, only change is that only the upper mounting holes for the clamp are used, the lower ones were removed to allow space to install the 3010 mm fan properly.

Non-printed parts:
1 E3D v6 or Lite6 hot-end
2 3010 mm box fans with 2 corners removed
4 M3x20mm screws
Kapton tape


V4 with Hot-end and Fan installed

I've been printing for over 14 hours with the V4 effector and it's worked flawlessly with no failed prints so far. Overall print volume is currently 10 cm tall by 11 cm diameter, which is exactly what the Micro's original design concept envisioned.


V4 effector with all fans installed


The STLs to build this upgrade can be downloaded from this post: 
V4 Clamp 
V4 Raised Effector Body