Tuesday 21 June 2022

Upgrading to E3D Revo

Ender 3 undergoing upgrades

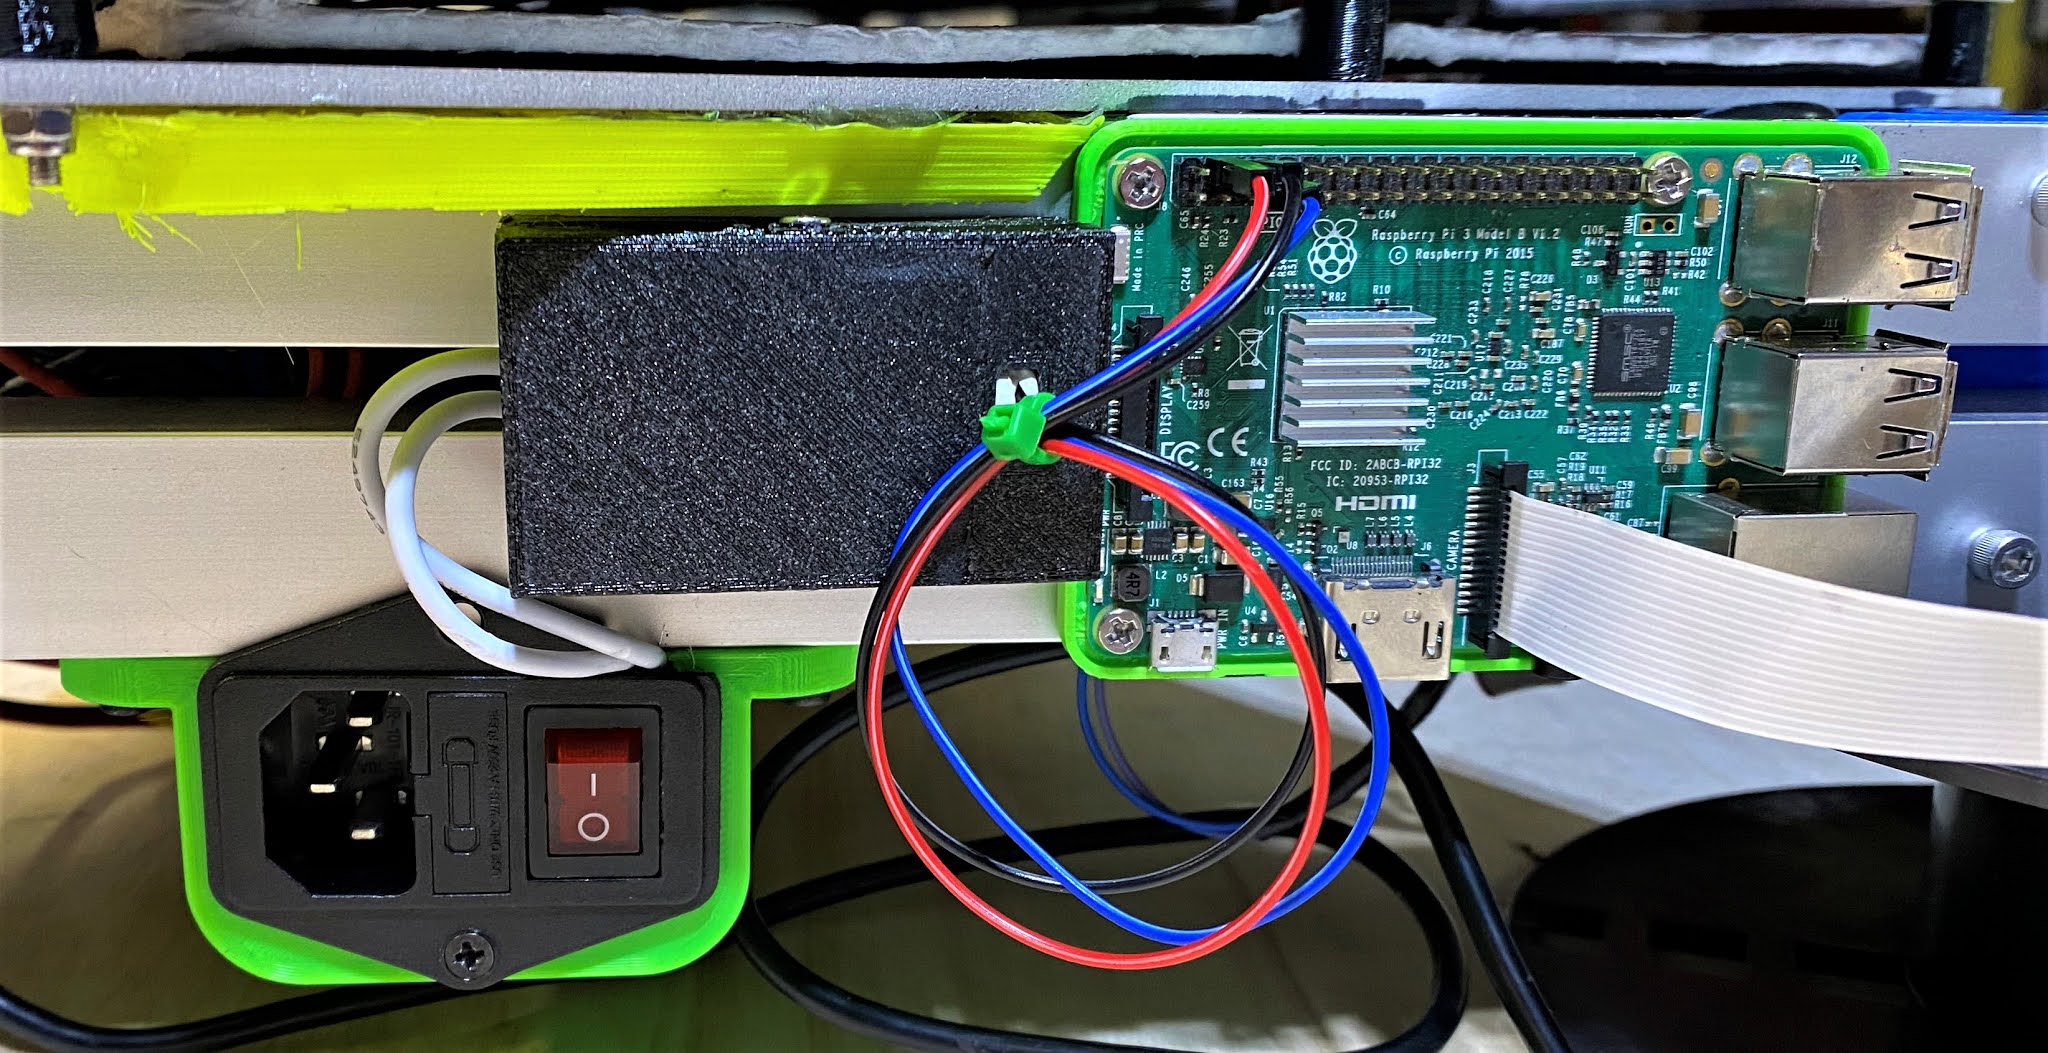
    Over the last year and a bit, I've been involved in beta-testing E3D's new Revo series hot-end, this is the process of upgrading my two mainline printers to run on it. One is getting my final beta hot-end, the other is getting a Revo6 I won in one of the contests E3D was running earlier this year.


Revo Micro on Voron Afterburner mount


    My Ender 3 got the beta Revo Micro, mostly since it was due for an overhaul anyway. Mount is the Voron Afterburner AB-BN variant, mostly since that was the only version that had proper support for the Revo Micro heat-sink in February, the current Stealth Burner had yet to be released at that point. Installation was fairly straightforward, I mostly followed the extruder assembly section in the Voron 2.4 manual, then it was just some calibration for the new tool-head and it was up and running.


#ShamrockE3D

     After getting it fired up, I was completely shocked by how good the print quality was, the image above is done with the 0.25mm nozzle, and aside from some light stringing, the print is basically perfect other than some ringing artifacts that are more to do with the printer frame than anything else. Incidentally, this print also won the random draw in #ShamrockE3D contest, netting a second Revo Six hot-end, so it was time to refit the Sculptor.


Revo Six on Bear Extruder

     The Sculptor had been overdue for a rebuild on its tool-head for about 6-months now, so I decided to make the conversion over to using the BearEXXA project, the same as what I'd fitted the Mendel90 with last year. Once the new printed parts where assembled, the Revo Six was a snap-in upgrade, it fits the old V6 mount design perfectly. One thing that I changed from normal assembly was adding a length of M3 rod-stock to extend the x-axis cable management tail, mainly to protect the Revo electrical quick connects, the Molex Micro-Fit 3 connectors are a known weak-point for stress failures if bent by gantry movement. The other tweak I made was installing BearEXXA Delta P v2 Fanduct, mainly due to the BearEXXA stock ducting being rather overdue for an update.


Revo 6 with Delta-P ducting

     Once I'd gotten the updates fully dialed in, the jump in quality was frankly night and day, probably a combination of the high-performance heat-break on the Revo systems along with substantial upgrades to the part-cooling setup on both printers. And with the new high-flow and hardened nozzle-cores that have just been announced, I'm looking forward to years worth of fantastic prints out of both machines.


Ender 3 on left, Sculptor on right

Wednesday 2 June 2021

Mendel 90 Resurrection

Mendel 90 after cleaning
     Last august my local Craigslist turned up a piece of 3D printing history, a Mendel 90 scratch-build. It was in a sorry state when I got it, what follows are my modifications to convert it into a functional and semi-modern machine. Not shown is that it was coated in cobwebs from a couple years of disuse, so I started with a good cleaning and then it was time to strip parts down for upgrade and repair.

TR8 lead screws installed

     As I received it, this Mendel had M8 or 5/16" threaded rods for the z-axis movement that looked to have been twisted with a vise or badly mishandled, result was a 20mm bend out of true over the entire length so the printer was functionally limited to half of the original 200mm build height. I had a couple TR8 lead screws leftover from an older project, so the first fix was to rebuild the x-axis with updated ends to integrate them. Then it was time to do something about the extruder and electronics which were both non-functional.

Mendel 90 with corrected extruder being tested
     Turning over the electronics turned up some burnt traces on the Ramps board, mostly those related to the heated bed control area, so not critical to basic motion testing, but I swapped it out with a working spare regardless. The extruder that was installed originally was a Greg's Wade reloaded for 3mm filament, not ideal considering the hot-end is an E3D v5 clone for 1.75mm filament. Fixing this was mostly just tracking down a compatible 1.75mm version of the extruder body online, then printing and installing it. With those quick fixes done it was time for a full scale test-print.

3DBenchy attempt with original extruder and gantry


      After several weeks of fiddling with it this was the best result I could get out of it. The main issue was the gantry jamming on one end and flexing at strange angles, often half-way through a multi-hour test print. Eventually I decided to rebuild the x/z gantry setup with a more modern design to fix this issue, ultimately settling on the 'Bear Exxa project' upgrade since I'd used some of the parts from it in refits to the Sculptor over the last 3-4 years and they've proven to be some of the most sturdy parts on it.

Mendel with Bear Exxa half installed

     Installing the axis upgrade was simple, the project has excellent documentation and assembly instructions, so it was mostly making minor tweaks to accommodate the Mendel's design, mostly mirroring things from left to right since the Mendel design is flipped in that direction relative to current i3 designs. The largest change needed was cutting a strip off the right-hand side of the electronics bay to compensate for the x-axis motor position change. With that sorted out it was time to fire things up and test the print quality.

3DBenchy on Mendel Bear

     Much better print quality strait off, guess that's what almost 10 years of design refinements will do to things. I've yet to install the part-fan assembly and a couple other components but this is much better than the melted mess from the inital testing. Overall it's been fun reactivating this old relic and turning it into a reliable printer for future projects.

Mendel Bear ready to print


Sunday 2 May 2021

Remote Power Control Update

Remote Power Setup from last time
     There's been some changes to the remote power setup from last post, so I've documented the updates here if anyone wants to duplicate this modification. It's primarily a hardware change but there has also been a software update to the OctoPi plugin that can be a bit confusing for new users.

     The hardware side has changed over to a proper Raspberry Pi Hat, mainly due to the relay from last-time glitching out once the temperature in the workshop went from 10°C average to around 20°C, something about that slight increase made the relay trigger current increase past the Pi's current output limits. This isn't covered in the data sheet for the 'JQC-3FF-S-Z' relay that I've been able to find, so your results with that relay may vary depending on the environment the printer lives in. I've upgraded to the Keyestudio 4 Channel Relay Hat which uses relays that actually play nice with the Pi's onboard current limits, installing it was almost plug-in and go, only needing to screw the load lines into the terminal blocks to finish hardware installation.

Updated Settings for PSU Control

     On the software side, the creator of the 'PSU Control' plug-in did a major overhaul of the code-base in April, end result was it splitting into 3 plug-ins. The original which is now basically the switching logic for when to turn things on/off. And a pair of support plugins that act as interfaces for Raspberry Pi GPIO or TPlink smart plugs so far. Functionally this means that the 'Switching' settings need to be set to 'Plugin', and then the 'PSU Control RPi.GPIO' plugin installed via the plugin manager.

PSU Control RPi.GPIO settings

    Configuring the new plugin is fairly simple, it's really just a matter of telling what pin-mapping mode and which pin is in use for the printer relay. I'm using what the plugin calls 'BCM' mode, identifying the pins by the logic name instead of the more common 'Board' mode since it seems to be slightly more reliable. For the hat I'm using, the relays are on BCM pins 4, 6, 22, and 26. Setting up is just a matter of putting in the number for the relay in use, 4 in my case, and setting the logic to inverted since I've wired the printer as 'normally closed' and the plugin assumes the more common and generally safer 'normally open' logic by default. That concludes my follow up on this subject, next time its going to be looking modernizing an old relic from the early days of RepRap based printing.

Wednesday 20 January 2021

Remote power control with Octoprint

10A relay module

     Over the last couple months I've been working on a bunch of secret stuff and workshop upgrades, more on those later in the year, but one project I can share is converting the Mega Kossel to full remote control via the attached Octoprint node. Out of the box Octoprint allows for the attached printer to be monitored via USB and an optional webcam, but there isn't any means of switching the printer on or off remotely, resulting in a lot of wasted electricity to maintain it in a state of 'ready to print'. The solution for this problem requires a bit of hardware modification along with installing an optional plugin for Octoprint called 'PSU Control'. I'm going to start with the suprisingly simple hardware addition first.

Tools and parts for remote power control upgrade

      The primary addition needed to control the power state of the 3D printer, (North America only), is a common 10A relay of the type found in a lot of hobby electronics kits, I'm using this one from Amazon, but there are lots of variations to chose from, it just needs to have 5V switching logic for compatibility with the Raspberry Pi. The rest of the tools and supplies are some 16/18 gauge wire, 3 DuPoint jumper lines, a couple female spade connectors, a wire-crimp/striper tool, and a couple screwdrivers, #0 and #1 Philips in my case. I've also printed a case for the specific relay module, but any electronics project enclosure will work, this is a key safety precaution since the relay will be switching mains power and the terminal block does have exposed metal on the top and front, so this modification is at your own risk.

Inside of power socket/switch with target wire removed.
     The first step is to unplug the printer and unscrew the power switch/socket assembly, this usually is just taking 2 screws out from the top and bottom holes. Once the socket is out, there are a bunch of wires that lead to the power supply, we want to remove the short section of wire that leads from the fuse to the power switch, this is going to be replaced with some leads to the relay. 
Relay polarity wiring
     Wiring the relay is fairly simple, we want it connected in the normally closed (NC) position. This allows the printer to still be used normally if the Octoprint node is offline for any reason. The other end of the 18-gauge wires should be crimped with the spade connectors, then one goes on each exposed blade in the power switch assembly.
Final Relay to Pi wiring
     On the OctoPi side, we're connecting to the 5V, 3.3V, GND, and one of the data pins on the Pi's GPIO, so you will need a 15W power block for the pi to prevent performance issues when the relay is active. Firstly I've pulled the coloured jumper and am using the relay board in isolated mode to prevent damage to the Pi's 3.3V logic systems. Full pinout is pin 2(5V) to JD_VCC, pin 1(3.3V) to VCC, pin 6(GND) to GND, and pin 13(GPIO) to IN1/Control. Of these, the only one you'll need to note down is which pin the control line is on. We'll need this number to configure the plugin in the next step.
Octoprint Settings with PSU Control installed
     Installing the PSU Control plugin is fairly standard for Octoprint, just searching 'PSU' in the plugin manager brings it up, after that it's just clicking 'install' and follow the prompts. Once the plugin is loaded, scroll down to the page shown above and switch the switching mode to 'GPIO', then enter '13' in the box below. After that scroll down to 'Power On Options' and enable 'Connect when powered on' with a 10 second delay and you're done for basic configuration. There's also a couple options to automatically shut-down the printer when idle or finished printing. These make it so the printer will stay completely dormant when not in use, ideal for when doing long prints that finish at odd hours.
Completed install before testing

Monday 19 October 2020

Ender 3 Upgrade: Dual Extrusion with SKR 1.3

Endurance ready to print
      Time for the reveal of a long-term project that's been around in various forms for a couple years, Duel-extrusion. Back in Febuary I'd started to experiment with converting my Ender 3 to dual-colour extrusion using a spare Lite6 hot-end and V6 clone that I found on Amazon.

Thing:3516409 mount
     Mounting the hot-ends for initial testing of the idea was fairly simple, there's lots of good mounts for V6 series hot-ends on Thingiverse, I specifically went with thing:3516409 to start with since it allows for reconfiguring from single to dual extrusion with only a couple printed parts as mounts. The next issue to tackle was electronics.

Ramps stack on Ender 3
     Now, the Ender 3 default electronics are fairly good for a basic single extrusion printer, but don't allow for duel nozzles, so I swapped the silent 1.1.4 board from my last upgrade out for a spare Ramps/Mega2560 stack that I normally use on my MPCNC. The Mega2560 isn't rated for 24V power but there is a fairly old work-around that solves this problem on the RepRap wiki, I then wired a spare LM2596 buck converter to provide the needed 12V power for the processor board's onboard regulator and the hardware side was ready for inital testing.

BigTreeTech SKR 1.3 with stepper drivers partially installed
    Unfortunately, this was right at the start of April 2020, so testing things out got put on hold until June since all of my printers were fabricating PPE gear as part of BCC3D.ca's efforts. This showed that Ramps at 24V is ok for short-term use, but I had one of my extruder stepper drivers blow out, so a better solution was needed for long-term usage. Some research on newer 32-bit boards showed that the BigTreeTech SKR 1.3 board fit the needs of this upgrade perfectly.

Custom dual hot-end mounts
    The other short-coming that was revealed was the dificulty in aligning the duel hot-ends correctly since this type of dual-extrusion setup needs the nozzles in the exact same horizontal plane or close enough to make no difference with the intended layer-height. The Thingiverse mount had both hot-ends locked at the same height at the top but not at the bottom, so I pulled a copy of the Ender 3 source-file into Fusion 360 and started drawing up a custom mount pair to fix the issue. 

Design in progress
     My solution to the problem has the right-hand hot-end at a fixed height bolted to the stock hot-end mount posts since that's the zero reference point for the entire printer coordinate system. The left hot-end is tucked into a dead-space on the side of the tool-plate that's normally used for mounting optional auto-levelling probes but is the exact right size to fit a V6 heat-sink while allowing both nozzles to reach the full width of the bed. With all that sorted out it was finally time to calibrate and try this out.

First Duel-extrusion print straight off the bed
     Now, obviously there's a fair bit of slicer tinkering needed to get a custom duel-extrusion system setup, so I loaded a couple lengths of scrap filament into the extruders and printed several test objects (thing:2388496, dual block object) to get the horizontal offsets correct in the firmware, then created a custom version of the Ender 3 profile in Prusa Slicer v22 with some custom startup gcode to get things heated correctly. Other than that I just turned the 'ooze shield' settings on, drew up a simple vase as a test part and turned it loose.

First dual-colour print after inital cleanup
     Clearly things aren't perfect, still some tuning with the retraction settings given the blobs all over the surface, but I'm quite pleased with how it turned out for a first print after all the work that's gone into this upgrade. The SKR board has proven quite robust and reliable, been running it non-stop for about 4-months now without issue so they're now my first choice for new printer controllers going forward.

Tuesday 12 May 2020

Design Study: Castor wheels from scratch

PLA Wheel
      While working on another workspace upgrade project, I decided to try making my own castor wheels from scratch using some leftover bearings that were floating around in the parts bin. I started off from the known dimensions the castors that are on the bottom of my main workbench, about 1.5 inch tall, and the specs of the 625 bearings that I was planning to use.


Castor wheel parts version 1
     A bit of drafting in Fusion 360 ended up with the version 1 parts, they worked fairly well once assembled since I've done rotating parts with 625 bearings before, but they weren't rotating around the vertical pivot like I was expecting them to when turning, so what was going on? 

Castor wheel mounts version 3
     I pulled up some example of high-end castor wheels online and quickly found the two issues with my design that were causing the rotation to jam under load. First up is that commercial castors actually have the centre of mass/vertical rotation shaft centred over the outermost 25% of the wheel rim area. This means that the wheel is constantly trying and failing to escape from under the load, manifesting as the sideways force that makes the wheels rotate to the point of least resistance relative to where you're trying to move them. 

Castor wheel version 3 with bearing collar installed
     The second detail is a simple mechanical part choice to make sure the wheels don't bind or stick under the load they're rated for, a simple ring of ball bearings around the vertical shaft between the wheel bracket and mounting plate. It's sort of a knock-off 'thrust bearing' more than anything else, so I drew some modifications into the parts to create a 3D printable version for testing and light load applications. Current plans are to use these for a small storage cart for around my workshop, so more to come later this summer.

Finished castor wheel version 3

Sunday 1 March 2020

Yearly Overhaul: Mega Kossel

Mega Kossel
       One year after building the Mega 2.0, some of the reused components started to wear out and cause issues, so this is an overview of what's been updated and replaced over the past couple of months, primarily the print-bed and its related wiring along with some worn out cables in a couple areas.

Mini Kossel Power Switch after overload surge
     The first issue that came up was the original power switch overheated and partially melted due to an improperly matched circuit breaker from an old refit allowing sustained over-current during the heat-up cycle at the start of a print, I think that's what happened anyway. Fortunately the fix was very simple, one of these IEC Socket with Switch and Fuse Holder units and a 5A glass fuse from the local electronics store, and some wire from an inexpensive extension cord covered the electrical side. Mounting the new plug was mostly a matter of designing a custom bracket for it to sit in and bolting that to the underside of the frame, then connecting everything to the power supply and that issue was fixed.


New power socket wired up and ready for mounting shell
Power Socket installed in printed housing for safety


      With the power input repaired, the second and more critical issue that came up was a mechanical failure of the original heat-bed power input cable where it was soldered to the Kapton heater disk. Re-soldering it worked temporarily but it broke a second time in the exact same spot and the second break ripped a hole in the copper layer of the circuitry, so it was time to retire the old thing and get a more solid MK3 bed variant to do the job.

New heat-bed stack components, from left to right:
spare aluminum, cotton insulation, 300mm MK3 bed, and Creality magnet kit
     Parts used in the new bed are basically the larger versions of the ones installed on the Sculptor and Ender 3. A 300mm MK3 aluminum bed is the electrical and structural core, with a sheet of cotton insulation to protect the electronics bay taped on the back. Upper surface is coated with the magnet sheet out of a Creality magnetic bed kit to mount the existing spring-steel sheet bed surface. I'm not using the Creality upper surface since they have a tendency to crack and breakdown after a fairly short usage lifetime.

New bed supports installed on Mega
     Of course, the change in bed shape means that a new set of bed supports are needed, some quick CAD work with the design files had the relevant parts drawn out and sent off to the Ender 3 and Sculptor for fabrication. Once that was done and bolted down, it was time to solder the electrical cables onto the new bed since it didn't come with the wires pre-installed, so here's some soldering in low-temperatures 101.

MK3 bed positioned on Ender 3 print surface for easy soldering.
     It was freezing cold out when this refit was done, workshop was just under 5°C average temperature, so the solder wasn't heating up correctly on the workbench or iron. Seems that solder needs about 20°C to work correctly, so I flipped the bed I was working on upside-down on my Ender 3's build-plate after cranking it up to 60°C. This managed to transmit enough heat into the parts being worked on to get things flowing correctly and it was fairly simple to finish installing after that.